On the back of one of my other posts on the D365 Org DB Settings I thought it would be good to re-imagine the method to update these settings in a Canvas app.
The solution from Sean McNellis is great and has been a big influence on my design, including the settings xml is pretty much a copy. I am hoping that I give users a more visual experience and this is a starter for a bunch of D365 CE admin apps in PowerApps.
I am now looking for people to test it and give me feedback on the solution, so if anyone has a little time to be critical, please contact me on the blog, via Twitter or on GitHub as an issue.
https://github.com/CooksterC/D365-Admin-Tools
Overview

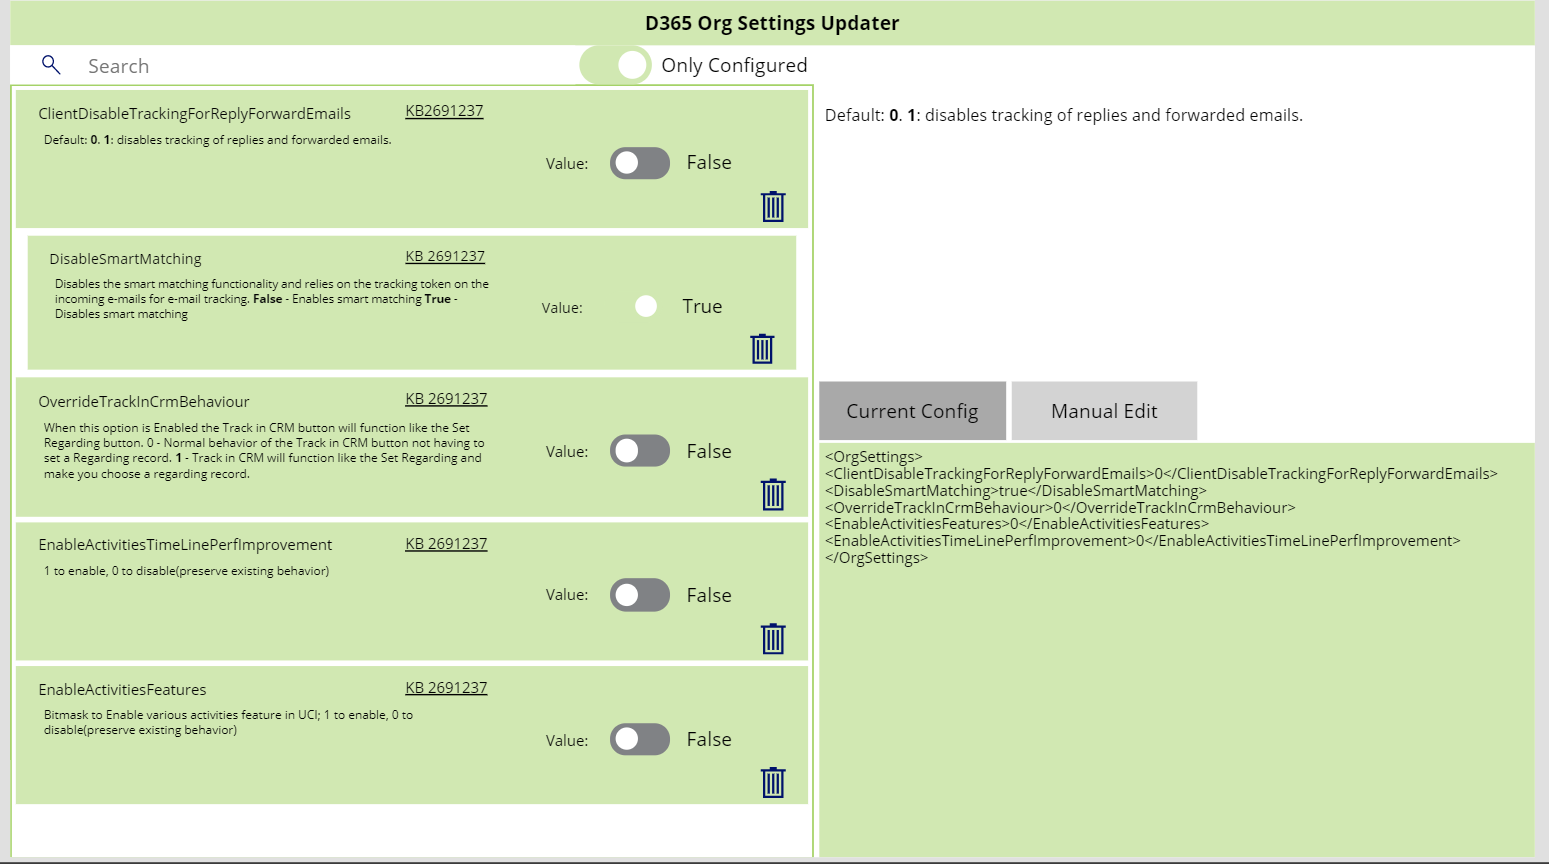
Hope you like green….
On the left is a list of the options for configuration. By default, it only shows the ones that are already configured, but we can alter this to show all settings by toggling the top button. You can also search at the top for the setting you want.
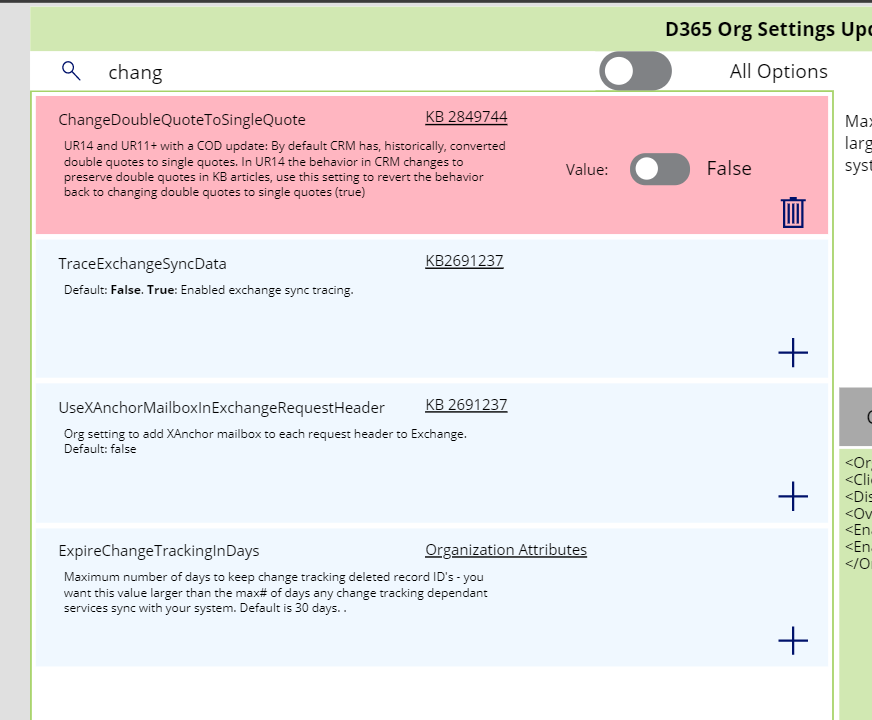
The list is also colour coded, to highlight the ones you have changed, the ones that are configured already and the ones that have no setting.
The grid shows the official documentation of the setting and a link to the KB article.
The Bin button will remove this setting from your configuration, returning it to the default.
The + button will add the setting to your configuration using the default value.
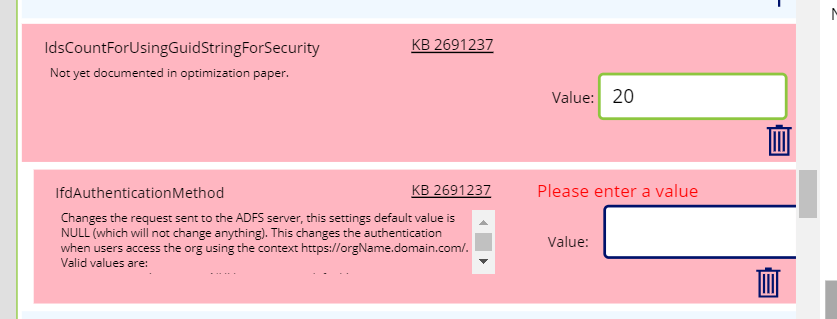
The Value entered can be different controls depending on the value been configured.
At the top right, you can save any configuration changes, which refreshes the list and the bottom right panel, which shows the current configuration
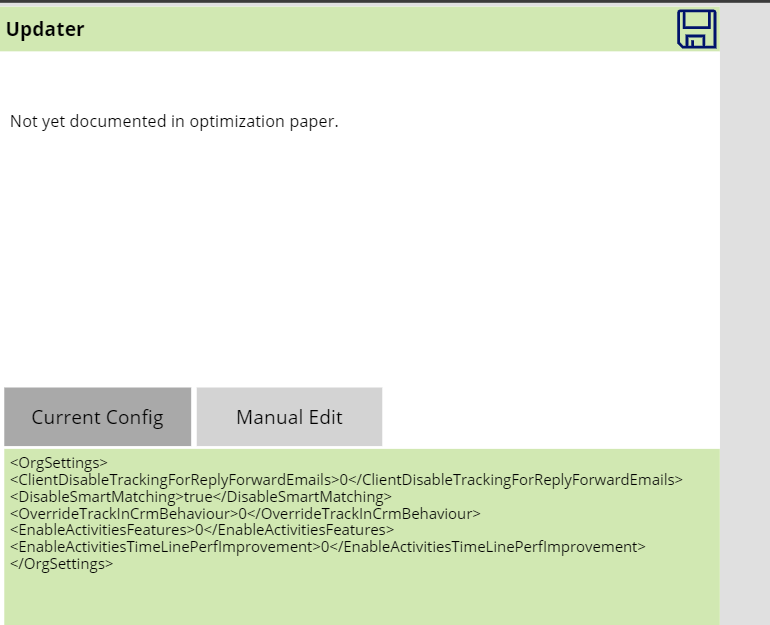
The top panel will display the documentation on the settings. There is also the ability to copy a configuration from another system or manually edit the xml.
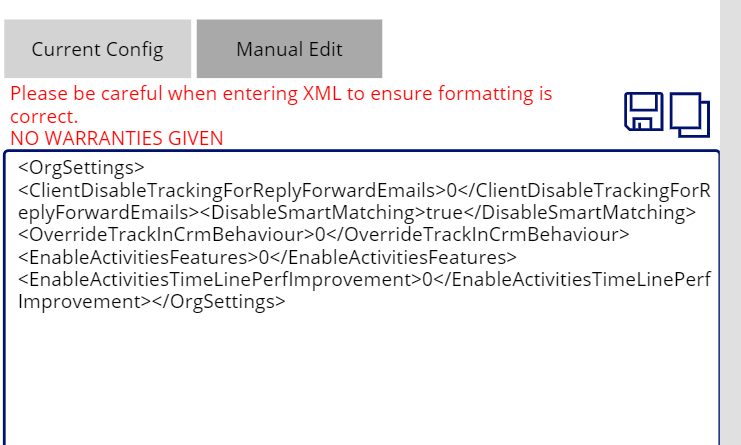
NO WARRANTIES GIVEN. If you get this wrong, then don’t blame me!
Installation
The package is a solution, with 2 components, the Canvas App and a custom connector.
As part of the app, the settings xml is cleared before it replaces with the new configuration, using the standard connector gives an error when this is done, so I reverted to doing this via a custom connector. Also, the settings are reliant on the version of your D365, less of an issue now that everyone is on the same version, but for those on premise, the version is required, again not available in a normal connector.
I have found that if I include that in a solution, it has the intended effect of bringing with it the connection to the api that it is configured for. This is great for deploying apps using a common api, but in this scenario, I don’t want you to use my tenant, but your own. Not sure how this could be improved, particularly for ISVs etc. Also, as the solution matures, everytime you import the solution, the connector needs reconnecting, which isn’t ideal.
So there is 2 parts, the Canvas App exported as a package and the connector.
Connector Configuration
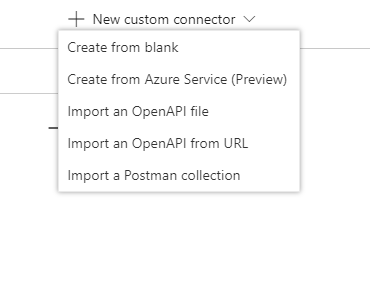
Select New Custom Connector / Import as OpenAPI file
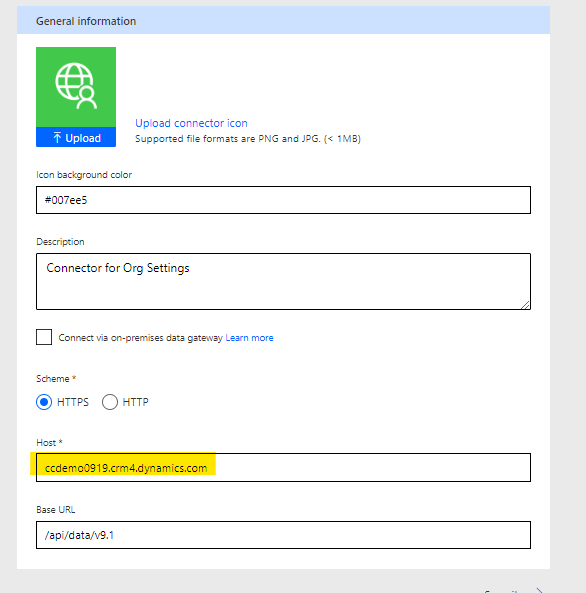
Put in your environment link here. This is mine, and the solution method of connectors copies these settings, thankfully it is OAuth, so unless you know my password (and this is a trial).
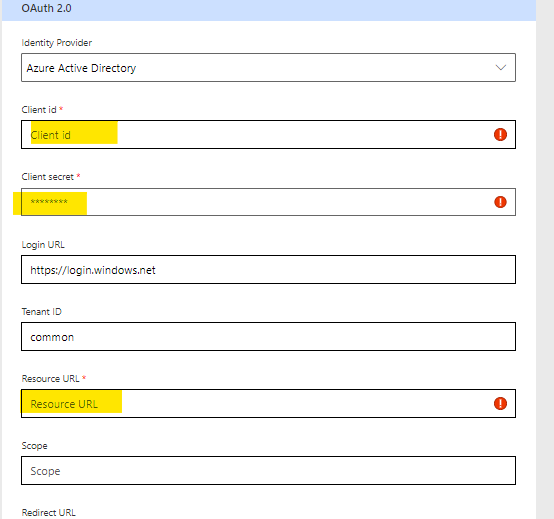
Next is security. Edit the OAuth 2.0 settings.
You need to enter the Client Id and Client Secret taken from the Azure AD authentication as well as the Resource URL being the address of your environment.I stepped through this when I created my first custom connector for LUIS integration.
Update the connector and move on to testing.
I have only got 3 actions defined here, keeping it to the actions I need for the application and WhoAmI, which is so simple, allows me to confirm the connection prior to worrying about syntax.
As this is OAuth, you need to configure a connection, which is a prompt for you enter your credentials.
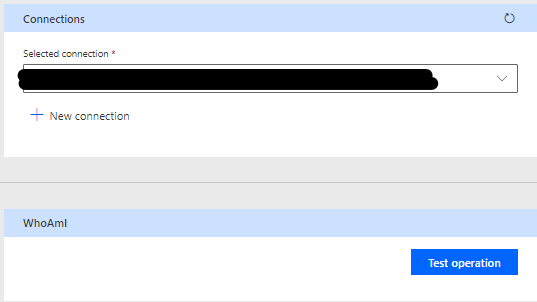
Test the operation to prove you have got your connector up and running.
Install the Canvas App
Got to your apps and select Import package. Select the zip file from GitHub repository.
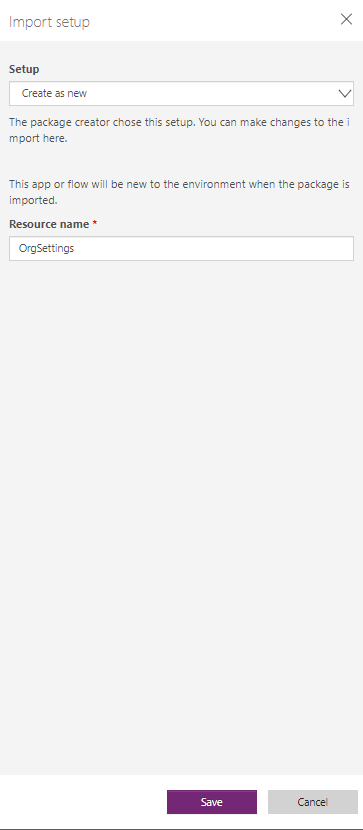
The first time you install, it has nothing to update, so you will need to change the action to “Create as new” and give it a new name if you don’t like it.
On the connector, you should connect it to the one that has just been created
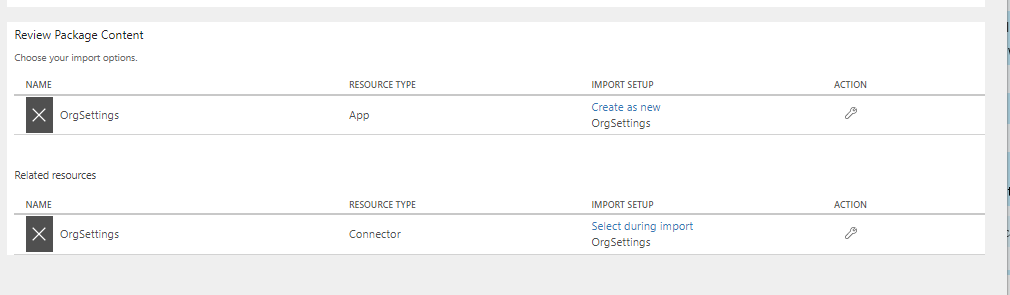
Hit import and you are done! Run the app to see a default configuration.
Like I have said, I would like feedback, particularly on how to improve the installation process. It is rather fiddly, would love to be able to just install a solution and you are done.