Last week, I took part in the Microsoft 365 Virtual Marathon. This was a branch out for me, as it wasn’t specifically Dynamics 365 or Power Platform related, though everything is one now right?
My talk was around Approvals, displaying 3 types of approvals, from a Send with Options to Adaptive cards, topics I have covered in my blog before.
During the sessions, one of the questions was around tracking approvals. Even in the Approvals app, it is very difficult to track who has approved and when including the comments. If you want to see this in combination to the thing you were approving, it means swapping between apps and ensuring you know what record you are looking at.
I took this as a challenge, and decided to use the Power Apps in SharePoint form to display Approvals.
TL;DR
Display of Approvals in SharePoint or and Power Platform application is not intuitive. I use a Power App to display approvals against items on a SharePoint document library.
Form in Action
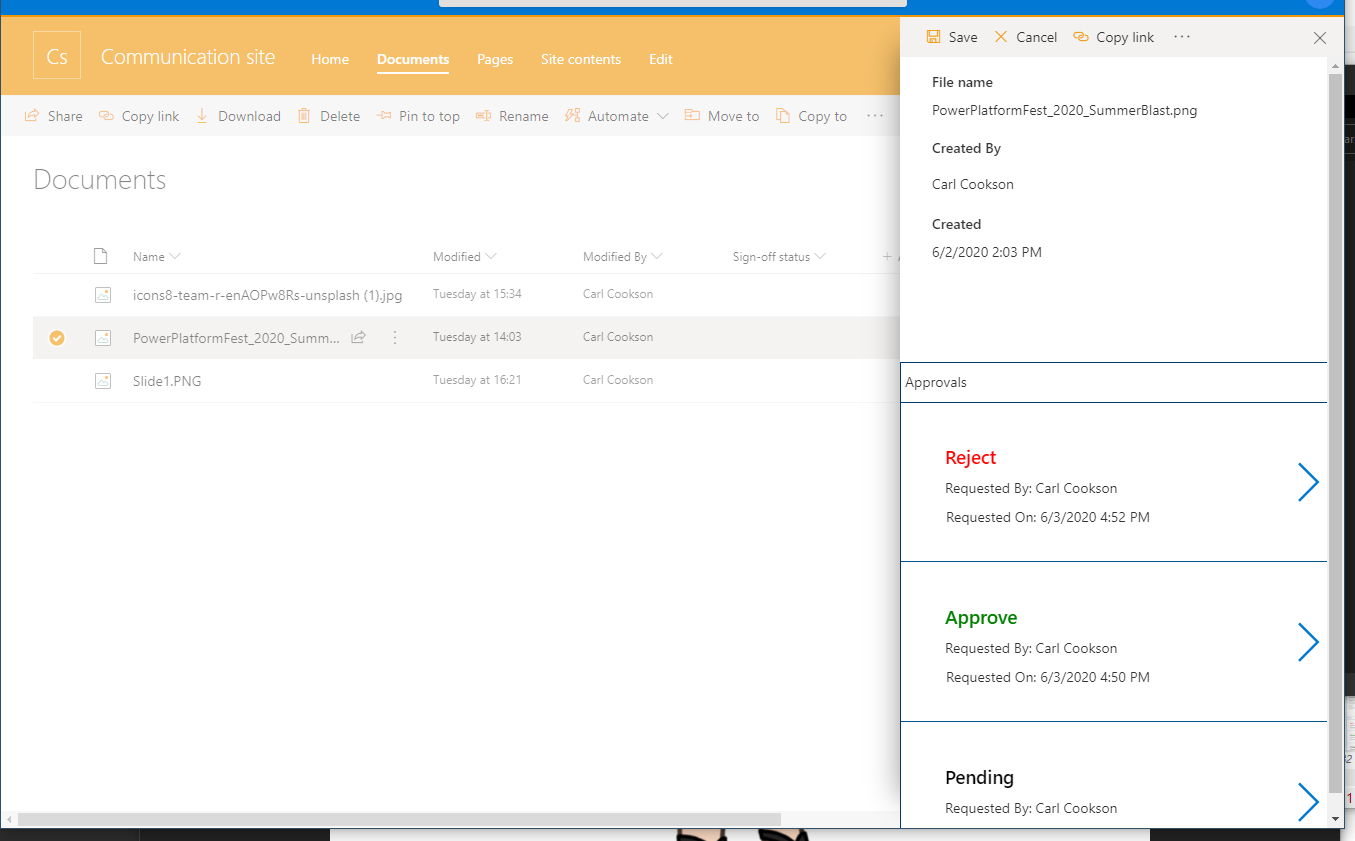
Before I run through the detail, check out the form in action below. As you show more details and display the associated Power Apps form, a list of the approvals is shown. If you drill into the approvals, more details about who it was sent to and how they responded are available.
Simple Approval
To get some approvals, I created a flow which is triggered when a file is added to the SharePoint folder. Obviously, this could be a lot more complex than this, but this simple one is to get some data in my approvals to show in SharePoint.
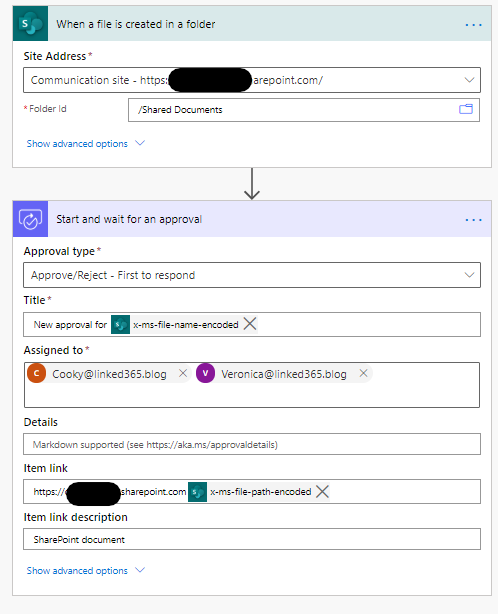
The critical part of this is the item link. You need a method of linking your approvals with the item it corresponds to, and MS does not provide you with a key field. You could create an approval, update a bespoke field on the document meta with the approval id, but I did not want to create unnecessary fields. I ensure that the item link will take me to the document in SharePoint.
SharePoint form
First of all, using Power Apps in SharePoint is not the same as a standard Power App. It frightened me when you start the Power App that it dumps you into the Default Instance. Also, these applications are not solution aware. I don’t think you can share the forms either. It is certainly not what I am used to. Not sure why this is the case. Let me know if you know any different.
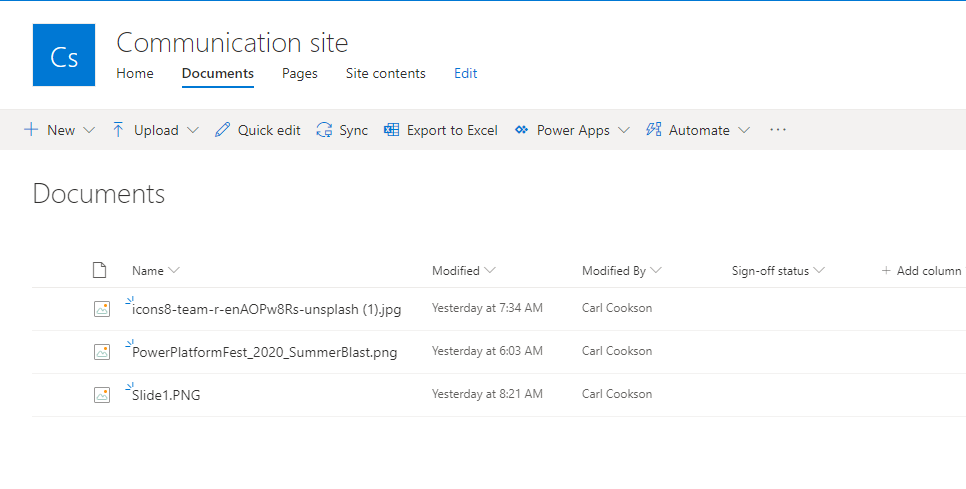
In the document library, select Power Apps, customise forms.
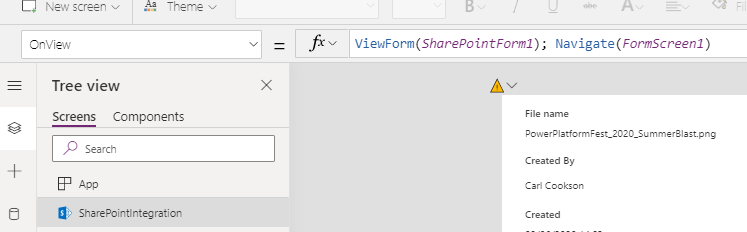
The form I created has a SharePointIntegration property in it, which is the context that is passed in. The form is linked to that record, in my case a document.
There are a couple of triggers on the integration which are used to force the display of the first screen when this is triggered. If you don’t apply this logic, the screen that was displayed last will return to the user, meaning the user tends to be left in the second, approval details screen.
I have added a couple of fields to the top half of the form, which represents some of the core fields you need. Below that, I have added a gallery.
Also, to use later, onvisible takes the document that is passed in or the first in the list and sticks it in a local variable

The Gallery Items is a filtered list of the Approvals entity within your CDS environment.
Here, you can see that I am filtering the Approvals entity by the item link, using the base SharePoint URL and the full path to the file. This isn’t the full path, just the bit after your site collection.

In the gallery Item are 3 fields. The first field is a visual indicator of the current status of approval. It is a combination of the Status reason as well as the result.

This label is also coloured to show Approved as green, Pending as black & Rejected as Red.

The next fields is just a display of who created the approval and when.


I added a second screen to my app, so you can see the detail of the approval, navigated to by selection of the approval.
Approval Detail
This form is pretty simple looking, with just a gallery. On visible of the form, two collections are populated, which are filtered lists of Approval Requests and Approval Responses. Working with local collections is a lot easier, particularly if you need to reference them multiple times.

The gallery is connected to the requestList, filtered by the previous step.
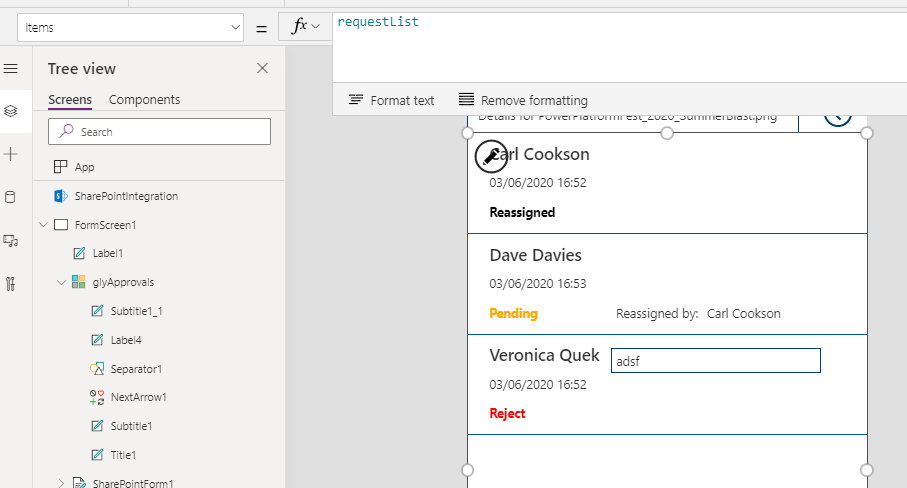
The name of the approver is taken from the owner of the request. I added a timestamp as well.

The third field combines several, depending on whether there are any responses to the particular request by the user. Also, the status, even for those that have been classified as rejected, is Active. There does not seem to be any direct link between the request and its response. I am assuming that each request can only have 1 response by 1 person, so filter the already filtered responses by the user who is the approver. Colour coding on the value again gives a more visual representation.
| |
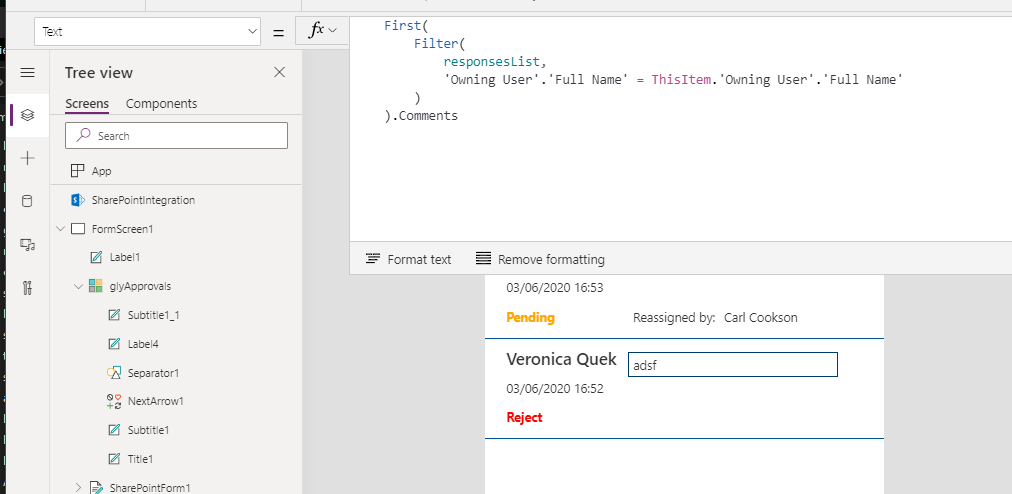
There are a couple of other fields on the grid, firstly the Comments entered if there are any. This comes from the response. I trigger the visibility of this field depending on whether it has a value.
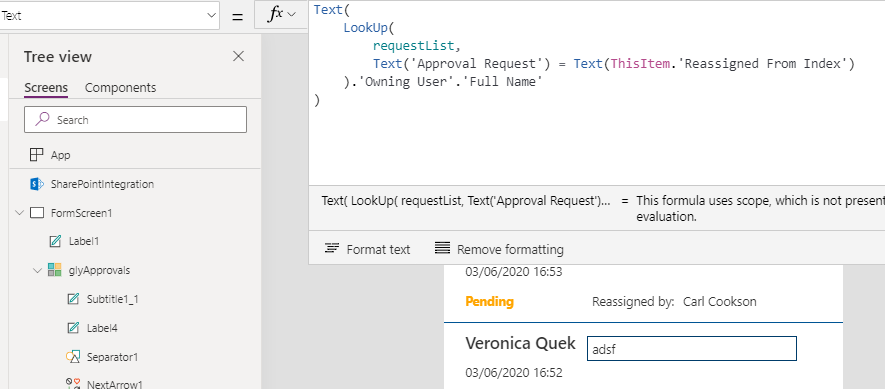
Finally, who re-assigned the request. Here I use a lookup, which allows a traversal to the the users name.