As putting a canvas app on a model driven form is now out of preview I thought that my PowerApp to add security roles and teams might be a suitable candidate to be migrated to an embedded canvas app.
Not going to repeat
There are lots of videos and blog posts out there which detail how to embed a canvas app into model, so there is no point repeating that, just stand on their shoulders.
Needless to say, there are a few gotchas. I will walk through how I addressed each one.
The connection isn’t there straight away
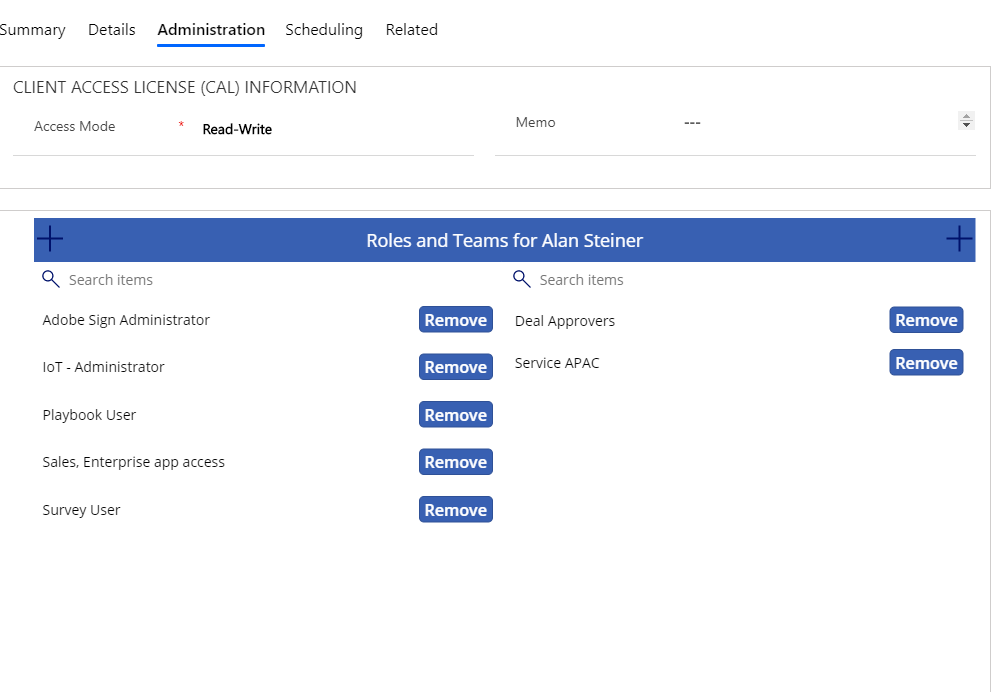
Rather than displaying the first user selection screen, the embedded app goes straight to the display of user roles and teams. The user selected should come from the record the end user is on. In the original code, I used the selected record, which is available as the user clicked on it.
From the embedded app, there is a connection to the underlying record, using the ModelDrivenFormIntegrationData property. I found that this was not populated straight away, prior to form visible anyway. To get around this, and I think Scott Durrow demoed this in a D365 User Group meeting, you need a wait screen.
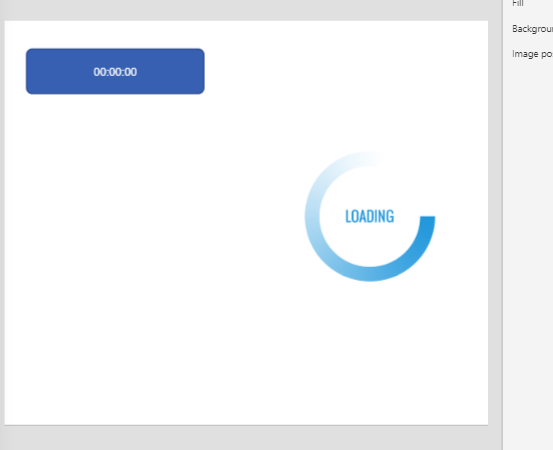
The Timer has configured to have a duration of 2000ms, with Auto start enabled. On Timer End Event is a simple navigation to the actual start screen.

I found that this was more than enough to get the data available in my application, so that the On Visible on the main screen could do all the things it needed to do.
Don’t forget to publish
The only way you can really see what is going on in your app is to run it within the D365 form. The debugging of the application is a little contrived when using the embedded app, so I used a liberal amount of labels with string values in there to understand what is being set and which value is being used.
Fundamentally, you need to publish everytime you need to see the application in your environment. Without the publish, the previous version is shown.
Screen size wows
This app is now configured with landscape mode, with Scale to fit, locked aspect ration and locked orientation. This seems to work more effectively for higher resolution screens on Windows machines. The screen scales with its size, which is great, but I would like to see the option for better use of the real estate.

As you can see, when the screen is large, the buttons and text in the PowerApp gets very big, over the top for mouse users.
If you change the screen properties to remove scale to fit, and alter some of the properties to ensure proper positioning as the screen moves, you get a more appropriate display for large screens, but are limited on tablets etc. Know your audience I guess.
Back to the code
The first part is to create a variable with the user data in it. ModelDriverFormIntegration will always be a table, all be it with only row in our case. Using a variable, this single record is available elsewhere. Just a method of not having to repeat that long property line throughout the application.
| |
The next step, was copy and paste from the other version, replacing where the app is expecting a selection of a user with the user id taken from the userdata. Firstly, creating a FetchXML string to derive the teams for the user, then passing this into the flow connector to retrieve the teams.
| |
The format of the application has changed, to a landscape view. I made both the teams and roles grid visible, with a search field at the top. The Teams grids items is set to the collection, with filtering and sorting applied

Next in the on visible event, the FetchXML is built to help in adding teams to the user. Firstly, create a table with the snippets in for the existing teams filters, then creating the actual FetchXML
| |
The process above is also done for the roles. The one gotcha around roles is that there is a business Id field user, but that gives you the name of the BU. If you use the BusinessUnitIdName field, that actually holds the GUID of the BU. Seems counter intuitive to me.
| |
The final app I think is a much better interface to manage roles and teams for a user. It works well in this context and allows managers to quickly change the roles for who they are concerned with.