I have been working for quite a while on Customer Insights, running workshops and generally getting to know it, but I realised that there is a multitude of products in the Insights suite, Customer Insights, Customer Service Insights, Product Insights, Marketing Insights and Sales Insights. These tools each have their own niche, and I don’t know them at all well. So I thought I would educate myself and hopefully someone else by walking through configuring each one and writing down my experiences.

The Business Case
Dynamics 365 Sales Insights to use its full name is designed to help your sales managers improve their team’s performance. It does this by continuously analysing the interactions a salesperson has with a customer, whether in D365 Sales or Exchange. Each business relationship is evaluated to understand the activities that are completed and how previous interactions have affected sales.
Do you know how often a salesperson contacts a potential lead? Do they always use canned responses, or is there a form of personality on the interaction? Have you provided your sales team with actionable insights about their opportunities?
Dynamics 365 Sales Insights has a selection of Free and Advanced features which improve the view of the customer, enabling rich customer experiences in the interactions with your sales team. It uses AI modelling to constantly monitor these interactions and provide insights to your salespeople at the appropriate time, increase lead closure and customer satisfaction.
Free vs Advanced
As already described, there are several free tools to start your journey, which are part of the standard Dynamics 365 Sales offering, namely Assistant (was Relationship Assistant), Auto Capture and email engagement. This first part of the series will walk through configuring the free features.
Advanced features is a £37.70 per month per user add-on, which is a hefty cost, but with it, you get the full suite of products - Assitant with Studio, Relationship Analytics, Predictive lead and opportunity scoring, Notes analysis, Talking points, Who knows whom, Sales accelerator, Assistant for teams and Conversation Intelligence. This is a lot of functionality. Over the next few posts, I will try and educate myself and step through the experience.
Configuring Sales Insights Free features
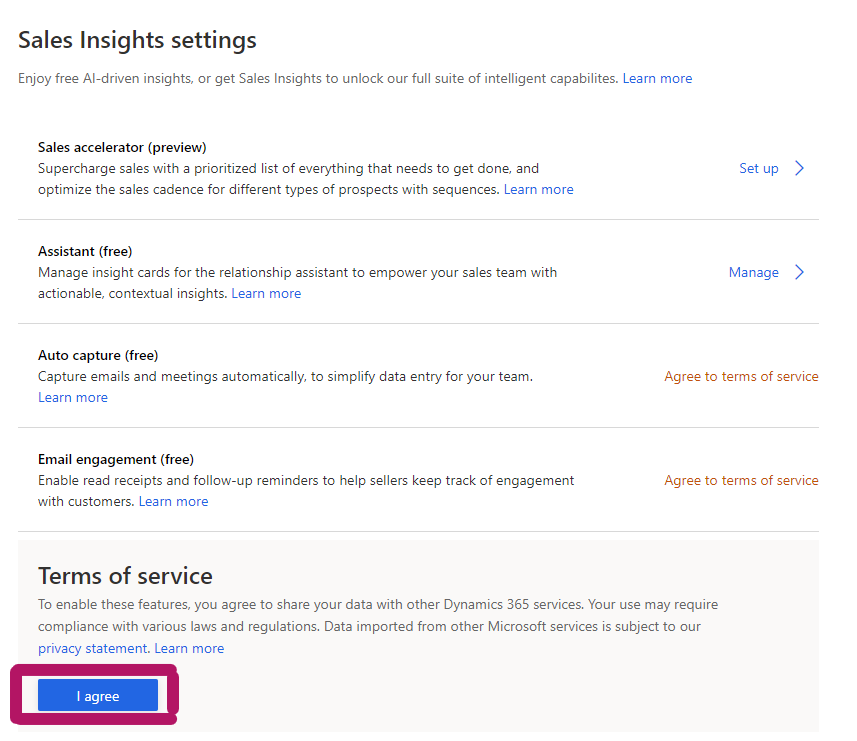
I started with a brand new trial, again, the best way to do this is to follow along with Chris Huntingford here. I chose all apps, as usual, then launched the standard Sales Hub. Down the bottom right, is a new area Sales Insights Settings.
Assistant Configuration
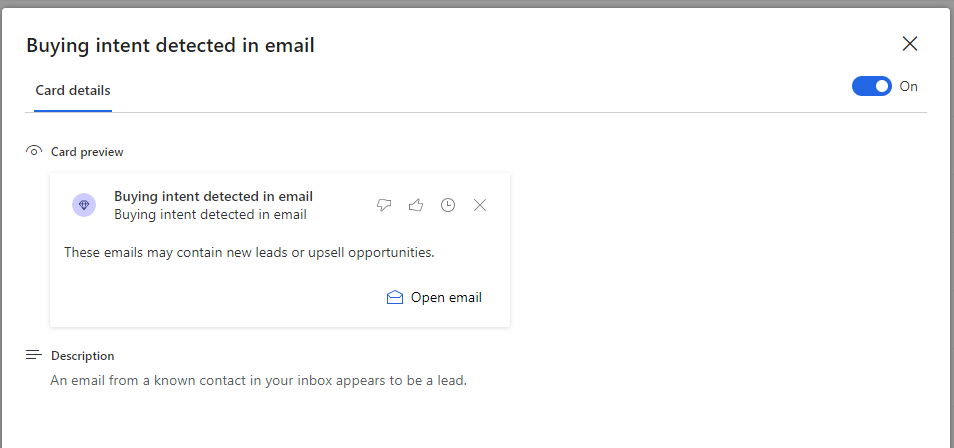
The first free feature is Assistant. Clicking on the Manage link takes us to the Assistant Studio to manage the cards that are available to the end-user.

You are pretty limited to what you can do on this screen, as it is the Free version. All you can do is enable/disable specific cards & make them a high priority. Each card description is vague, but there is a reference from Microsoft here.
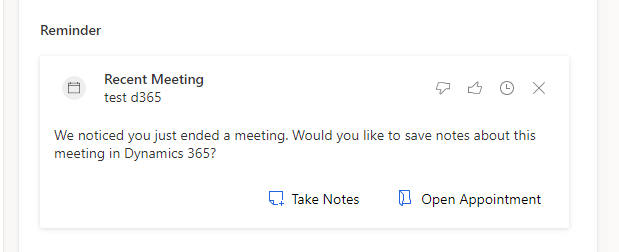
For instance, I have enabled Recent Meeting and Recent Meeting (Exchange). I have then added a meeting both within D365 and within Outlook for Veronica Quek. When she opens her sales dashboard, she gets this view.

This is different than the view if you have not got the 2020 Wave 1 functionality enabled.
For the Reminder, as it is just passed, I get an option to add some notes or open the appointment.
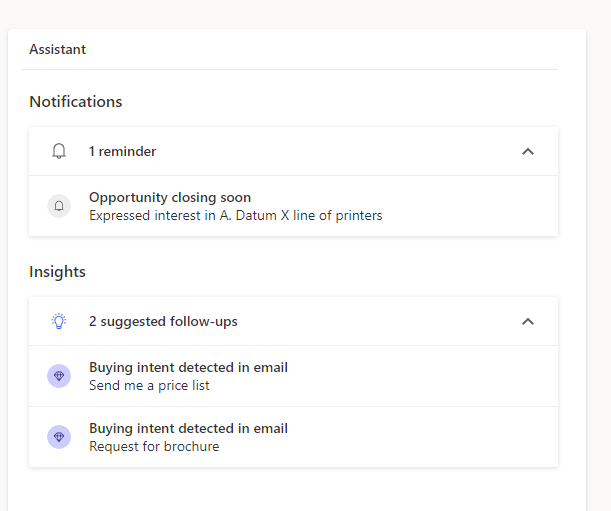
Also, clicking on the Assistant button top right gives a drop-down for the activities I have set up.
You will notice that the user has the option to tell the AI whether the alert is useful or not, delay or cancel a notification. The valuable data is available to the administrator (and Microsoft) appearing alongside the detail of the card in the admin section.
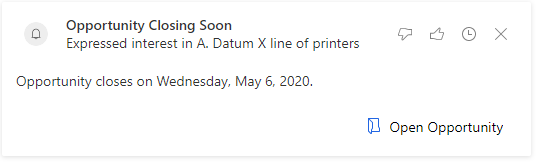
Some cards have options for the administrator to set, such as the Close date coming soon card. This allows an admin to specify how many days before a close date will the owner is notified via a card on the assistant.
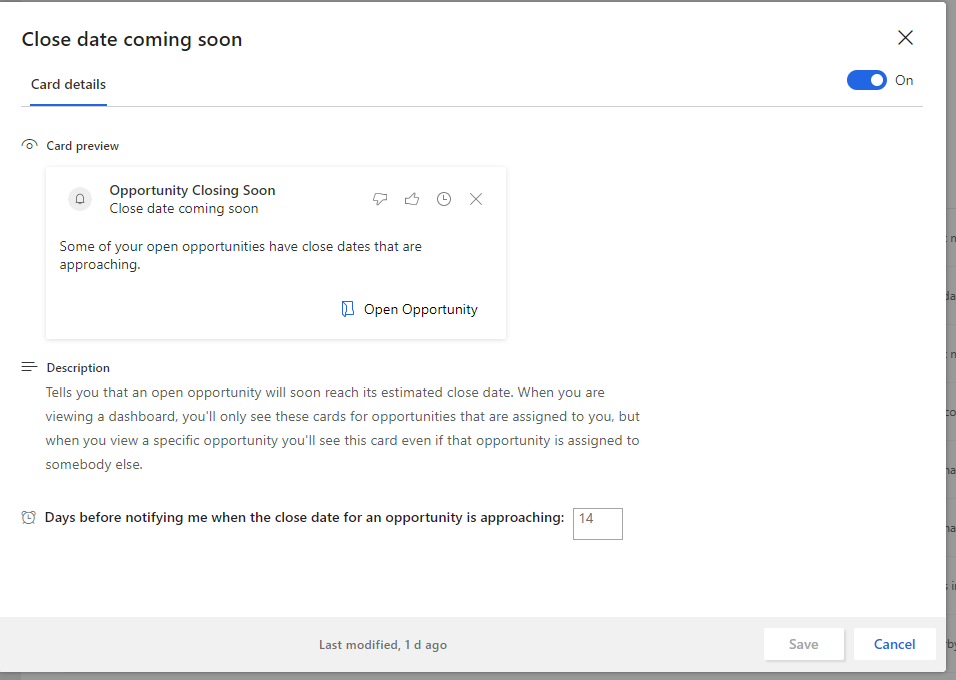
This pops up in the assistant like below.
All these action cards are great to bring outstanding tasks or stuff to the attention of your salespeople. Some of them will be reliant on having a full license.
Auto capture (free)
The next free component of Sales Insights is Auto Capture. To enable this, you have to agree to the Terms of service, which will enable Auto capture.

Clicking on Manage opens the Auto Capture configuration.

You can see that the Premium is now tantalising close, but let’s limit our selves to the free version. This requires Exchange Online sync set up and mailboxes configured. Plenty of articles out there stepping you through that. The insights from this don’t seem to come through straight away, I set up on a Friday and did not see any insights, by the Monday, it was all visible. Maybe that is just a glitch in the system, can not see any reference to this.
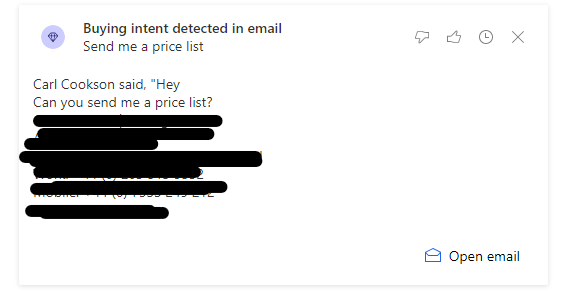
I sent 2 emails to my demo account, from an email address already belonging to a contact in D365.
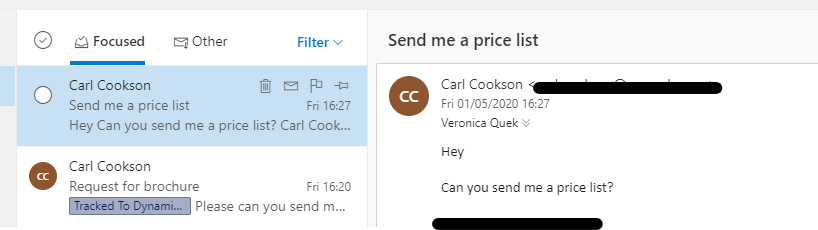
These are emails I would expect a salesperson to action, the contact is explicitly asking for something related to a possible sale. In Sales Insights dashboard, there is a new notification.
If I click on the first part, it opens a preview of the email where you can open the email direct in Outlook online.
On the contact record you see the insights again and also the email that is untracked is highlighted. In the Timeline, the highlighted button allows you to track the email straight away without returning to Outlook.

What cards appear depend on the insight cards you enable on the Assistant studio, discussed earlier. Anything that has a mention on your inbox is reliant on the auto-capture functionality being configured.
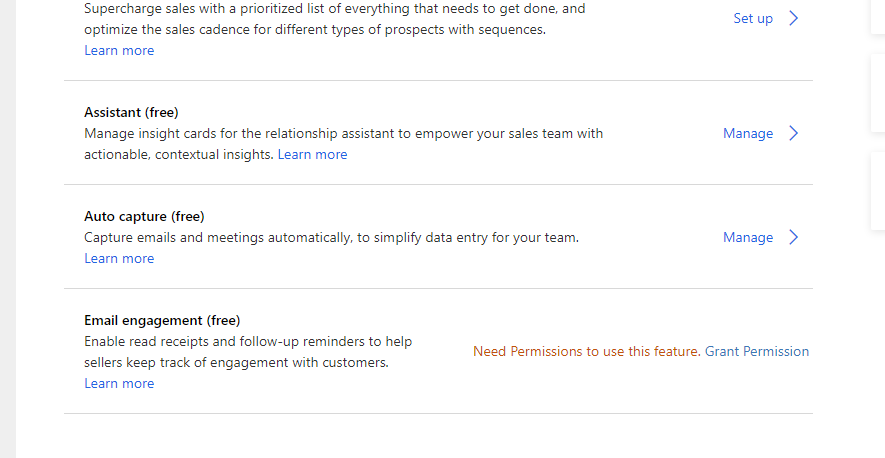
Email Engagement (Free)
The final “free” Sales Insight is Email Engagement. Check the Microsoft page on it here for full details. This tool allows you to be notified when the recipient opens an email, tr
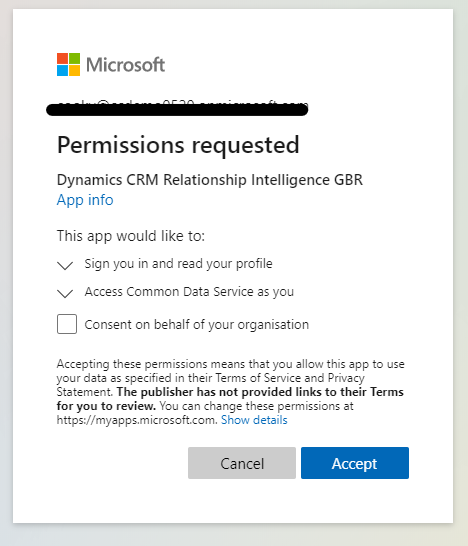
Firstly, we need to grant permission by selecting the grant permission link in the Sales Insight Admin.
This brings up the usual Permissions Requested approval box.
Once accepted, you should be presented with this page.
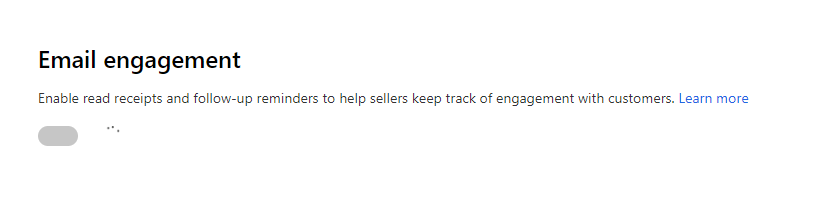
Now, back in the Sales Insights configuration page, the Email Engagement (free) has changed to a Set up link.

Clicking on Set up presents you with a page where you enable the functionality.
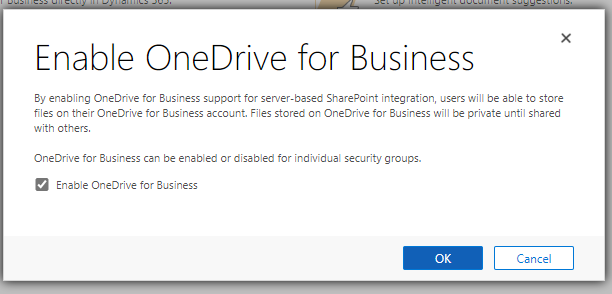
If you want to track attachment opening etc. you also need to configure OneDrive integration for your environment. In effect, any attachments are stored in OneDrive, and a link to that is sent to the user rather than the actual file. This allows the logging of attachment interactions. Navigate to admin.powerplatform.com, open your environment and Settings. Click on Integration / Document Management Settings, which will open this page.

To enable OneDrive, you need SharePoint enabled, so click on Enable Server-Based SharePoint Integration. Walkthrough the SharePoint Integration dialog, choosing a site to host your D365 files. Then click Enable OneDrive for Business back in the Document Management Settings page.
When I did this, I came across the issue that I needed a default SharePoint Site, but to set the default you need to change a setting which is not on the form. Workaround here. Once that is done, you get a new part of the Document Management Settings.

There is also a bit they don’t tell you about in the config, namely to enable Email as a document storage entity. If you go into SharePoint Document Locations under the Document Management Settings, you will be presented with this screen.
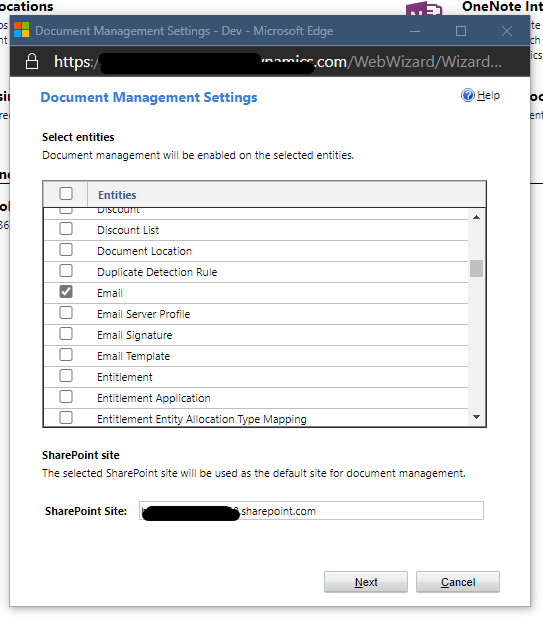
Make sure Email is ticked (along with the others), enter a path to the SharePoint and select Next. I decided to link it back to the Account so selected that as a based on entity then hit Next again. After a little churning, this is the result.

When you add an email now, you get a new tab (with the Enhanced Email Wave 1 enabled).
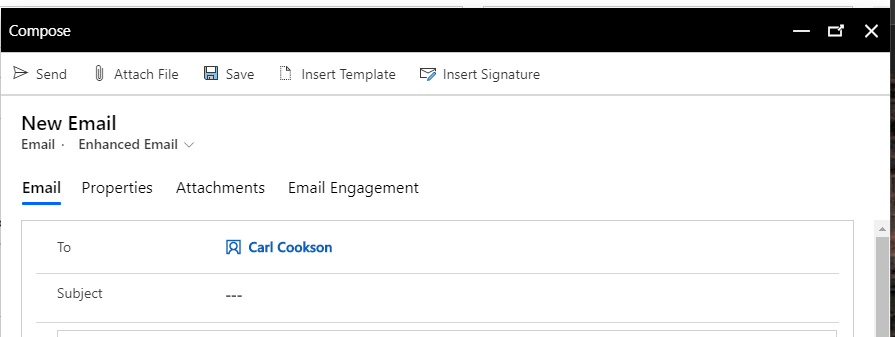
In the old way, you get a section available on the right
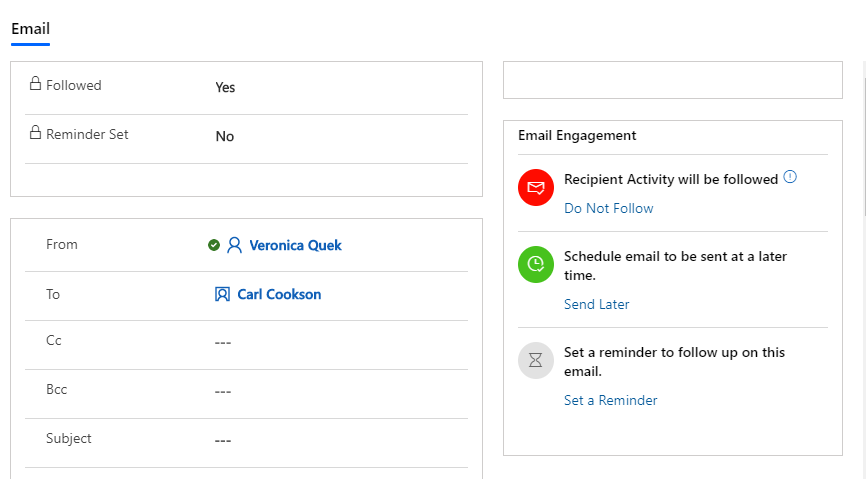
There are a few additional features enabled with this, firstly Recipient Activity
Recipient Activity
To record email activity, a small 1-pixel gif is placed in the email as you send it. This will, when the email is read, notify you that the email has been read. You can toggle this on or off per email using the Do Not Follow functionality in the Email Engagement section. There is also an override per Contact in the contact preferences section.

This is a snapshot of the HTML email that I sent, you can see the embedded gif which is a link to the Microsoft tracking site.

In D365, a notification appears as a new Insight card against the contact and in the dashboard view. It also appears in the timeline for the contact that was sent the mail. The stats and alerts are not fool-proof, each email seems to be opened multiple times, which is not my interactions. I assume that this is due to various services such as spam filters etc. checking the links, but it does give you confidence that there has been an interaction of some sort.

Attachment Activity
In addition to opening the email, you can also track them opening any attachments you send too. Firstly, you need to save the email before you can add attachments. Then add an attachment. You should get a new Follow button once you have added the attachment.
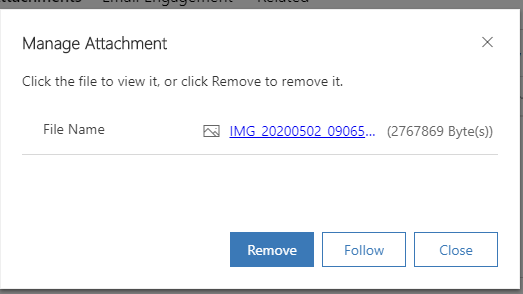
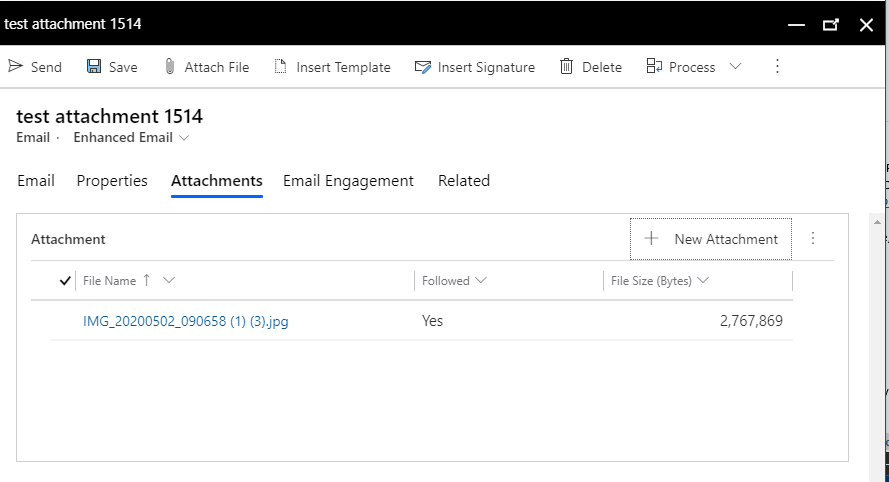
Selecting the Follow button tags the attachment for following and it appear in the grid of attachments like below.
Now, when the recipient receives the attachment, it is a link to the OneDrive file like below.
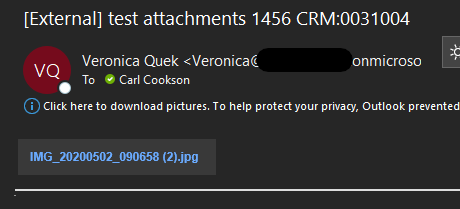
Clicking on the link drives the recipient to a OneDrive page where they can download the file. Please note, that these files are not secured, you don’t need to log on to get at these files, only the link. It would be pretty random that you could determine the link, but it is just a warning. Normal sharing would be preferred for contracts etc. but it is great for marketing/sales documents.

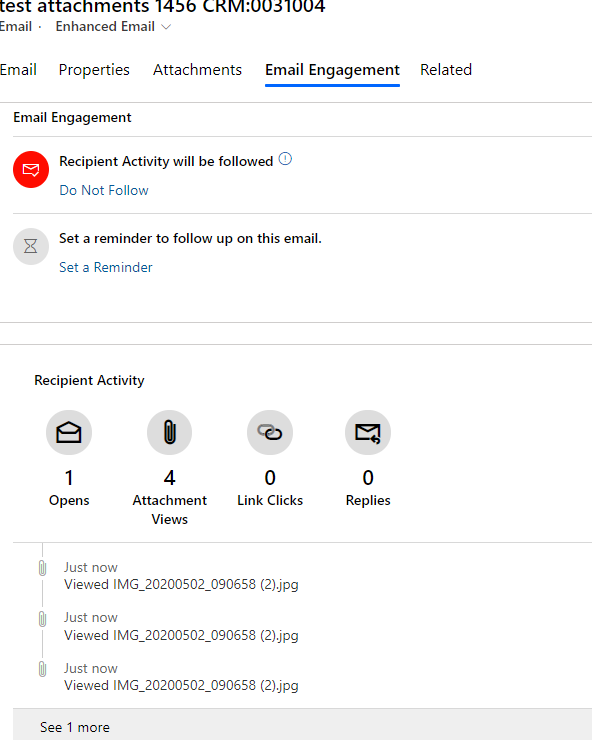
In D365, once the file is opened, you see a Sales Insights notification and if you open the email in D365, activity gets logged like below.
The attachments are stored on the users OneDrive, which you can see below for Veronica’s OneDrive.

Link Activity
Another feature in Email Engagement is link tracking. Any link you put into your email gets replaced with a link back to the D365 server. Each time the user clicks on the link, it is logged in D365, before the recipient is redirected to the original URL.
For instance, if I link to my blog in an email
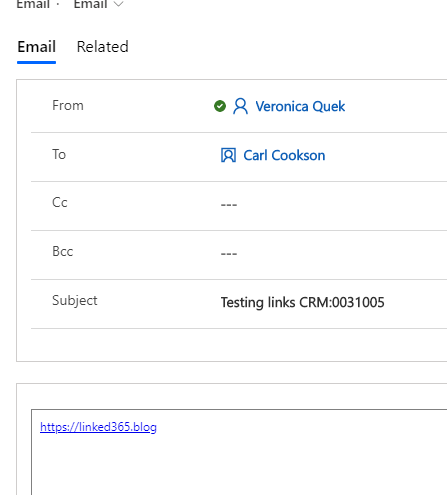
The recipient receives the email like below, but if you hover over the link it shows the full link that the user gets.

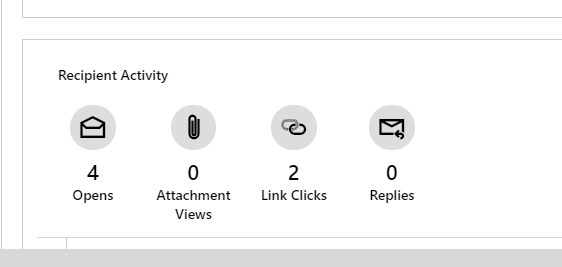
If I click on the link, the user gets directed to my awesome blog. More importantly, the link tracking appears in D365.
Delayed Delivery
When you send an email, with Email Engagement on, you can delay it. Click on Delay Send option presents you with this screen
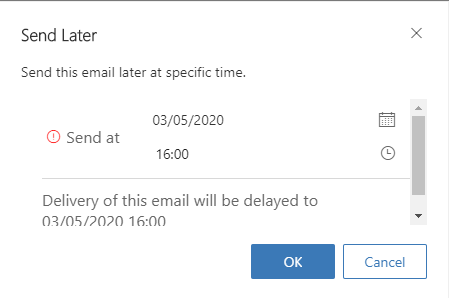
Hit send this time does nothing, with D365 in the background sending the email out when the time arrives. A nice little feature to pre-plan engagements.
Follow-up Reminder
Another nice little quality of life feature is the ability to add a follow-up reminder. This can be done at any time after the email has been sent.
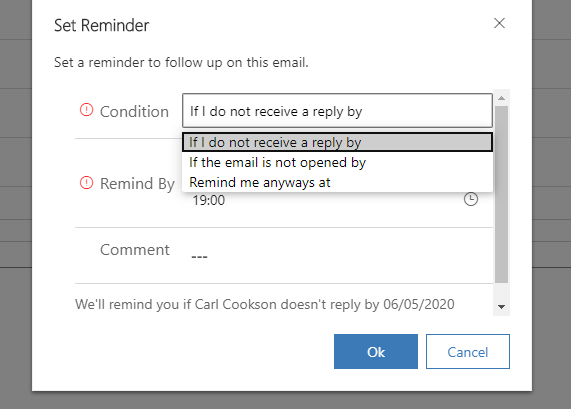
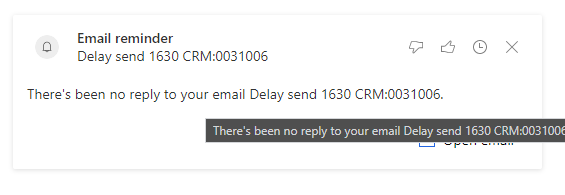
You can choose the condition and the time frame as well as a comment. This appears as an Assistant card once the date has reached.
Email Templates
Another feature enhanced with Email Engagement is templates. You can select templates by selecting Insert Template in the Email form. As you build up tracking on these emails and they are interacted with, statistics are built upon the suitability of each template - which ones ended up with an email that was opened for example.

Next time
As you can see this set of tools, including in the subscription cost of a Sales license is pretty cool. In my next post I will delve deeper into the premium features.