This is the fifth in the series on Sales Insights, were I attempt to walkthrough the Sales AI functionality that is part of the suite. The other articles are listed here.
Basic (Free) Setup - The “free” AI capabilities that can be added to any Sales Instance
Assistant Studio - Full capabilities - The full suite of options for Insight Cards
Productivity Intelligence - Activity and Contact suggestions as well as Notes Analysis
Connection Insights - Relationship Analytics and Talking points
This post will walkthrough the Predictive models functionality, which includes Lead and Opportunity scoring as well as Premium forecasting.
Lead Scoring
Predictive Lead scoring is a machine learning model which puts a score against each open lead. This allows your sales users to prioritise their interactions with leads, nurturing the right ones at the right tie to improve qualification results and reduce the time take to qualify a lead.
The model used is specific to your organisation and needs to be configured by the administrator prior to publication and usage by the salesforce.
Like Relationship analytics with similar opportunities I discussed previously, it needs some data. 30 qualified and unqualified leads. I utilised Mockaroo to create a thousand leads then used Flow to qualify and unqualify randomly. I detailed my work in the previous post, here. Once this is done, the predictive lead scoring is enabled.

Pressing Get Started now shows this screen.

I was expecting the ability to create my own model, but it seems it uses the default first. Once ready, it shows this screen.
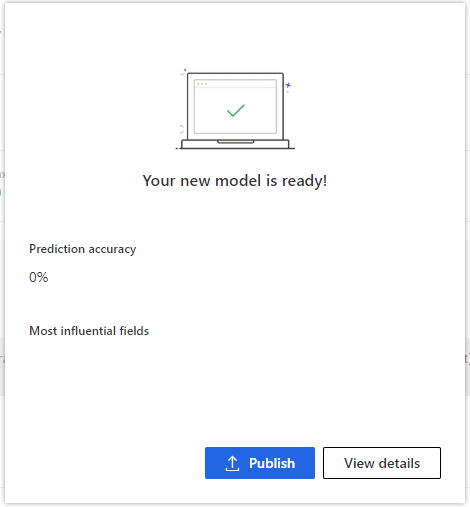
Not really good accuracy so far…. Selecting Publish brings you to the configuration site.

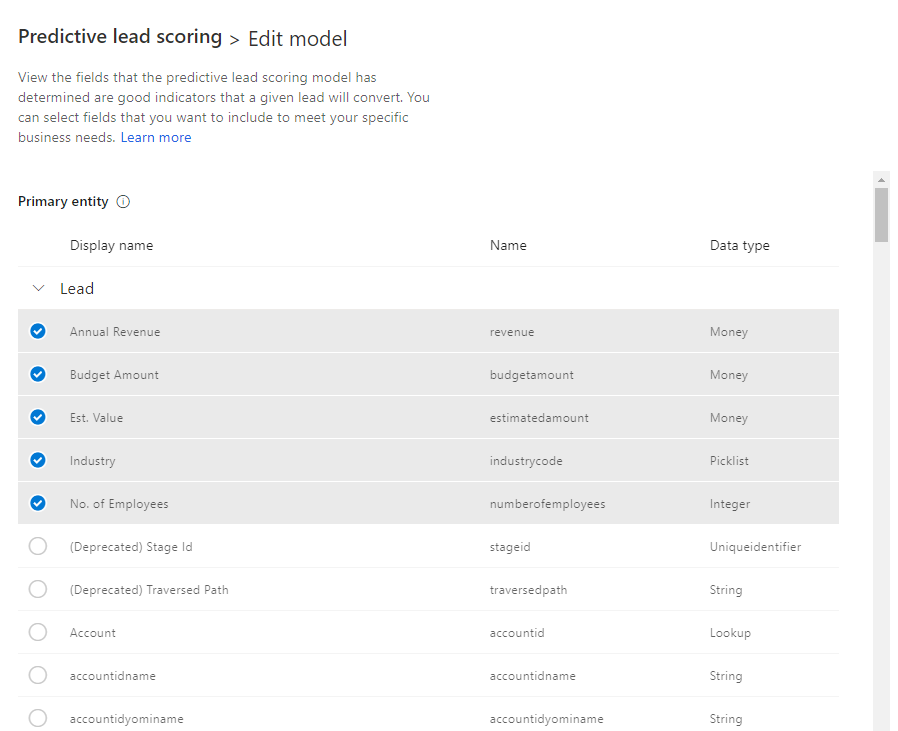
Now, let’s add some fields that have been populated in the Lead to personalise the model. Select Edit Fields. The next screen allows you to define the list of fields that you think have an impact on the qualification rate of a lead. Here, the fields that were populated when I created Leads are used. Your mileage on which fields is part of the training of your model.
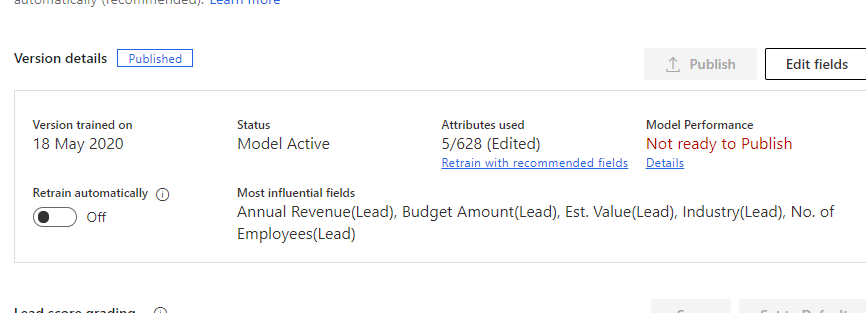
Once this is done, Click Retrain model for this new field selection to be used. After a period, the model is ready, and you can publish this model. Once published, the toggle for retraining automatically is available. This will, as it suggests, retrain the model regularly based on the fields selected. It will only publish the new version of the model it is better at predicting that the previous model
On the Lead form, there is a new section available, namely Predictive Lead Scoring.
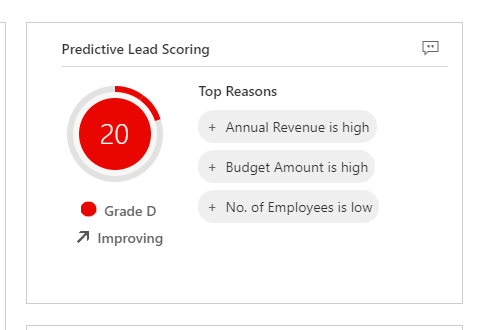
This is telling the sales user that this lead is likely to be disqualified, and the reasons why. There is also a view that is made available, My Open Leads Scored which gives a visual indicator of the score for each. Great information for a Sales user to quickly identify the Leads worth progressing.

Opportunity Scoring
Similar steps can be completed for the Opportunity Scoring, with a Predictive Opportunity Scoring section added to the Opportunity form.

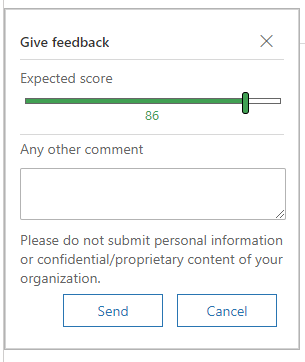
Top right of this section is a Chat icon, allowing a user to give feedback and provide a different score to the one given.
Premium Forecasting
Premium Forecasting is based on the standard forecasting but adds a prediction on the value of each opportunity dependent on historical information as well as data in the opportunity.
To establish forecasting, first, as an administrator, establish a forecast by choosing the Forecast configuration in the Sales App Settings section.
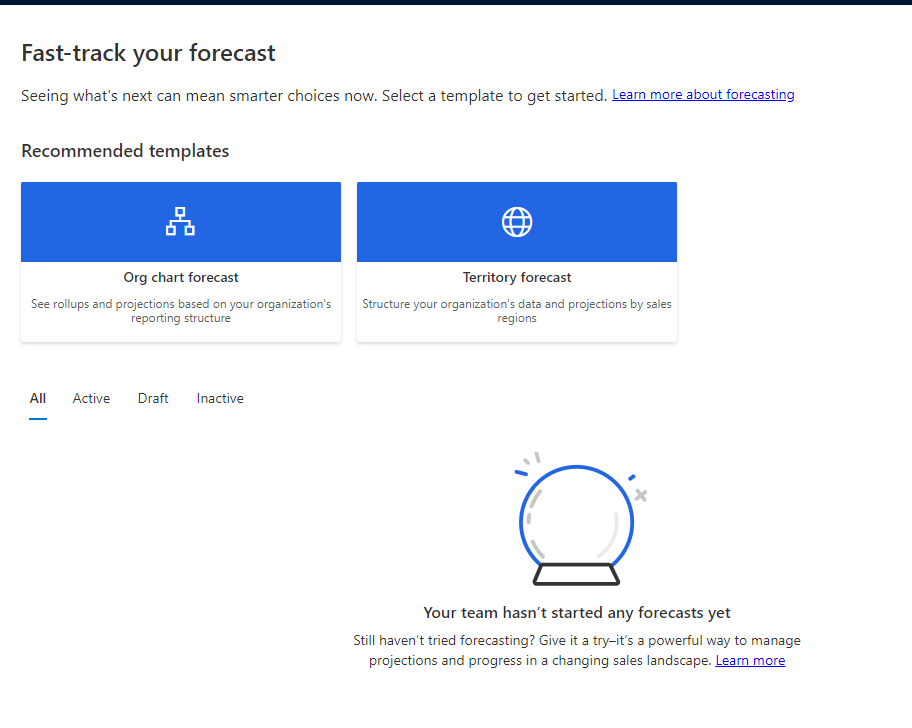
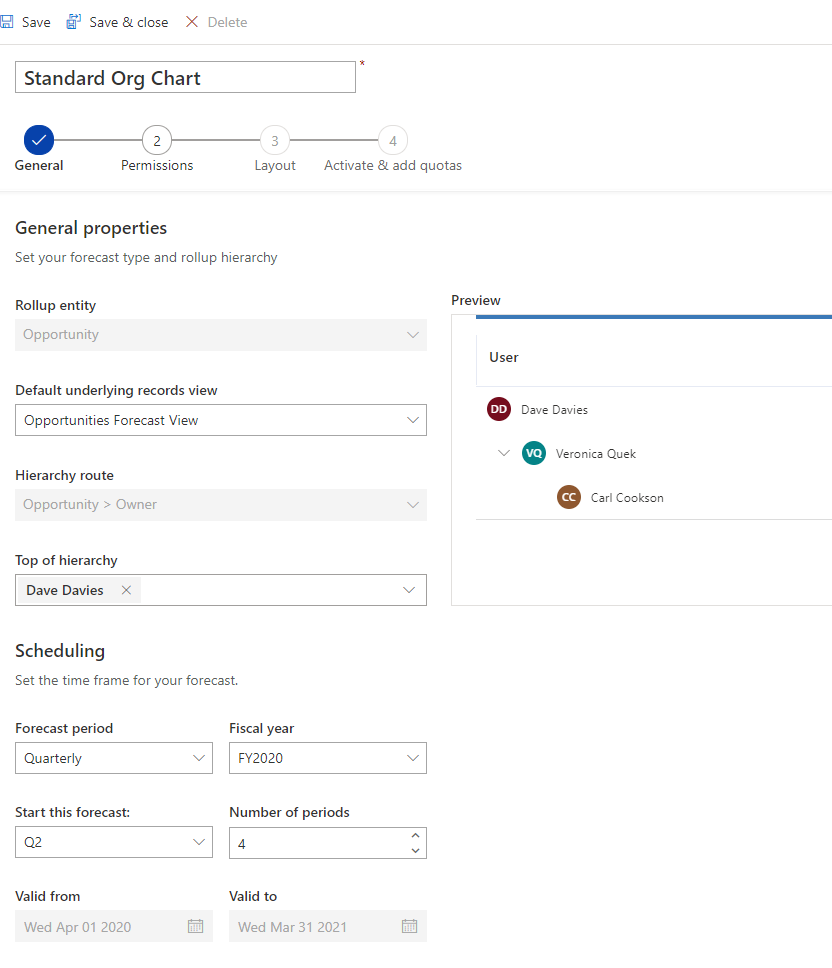
Add a Org chart Forecast. This presents you with a form to fill out.

Required fields are a name and the top of the hierarchy. Here, I have configured the management hierarchy as shown to reflect the data in my system.
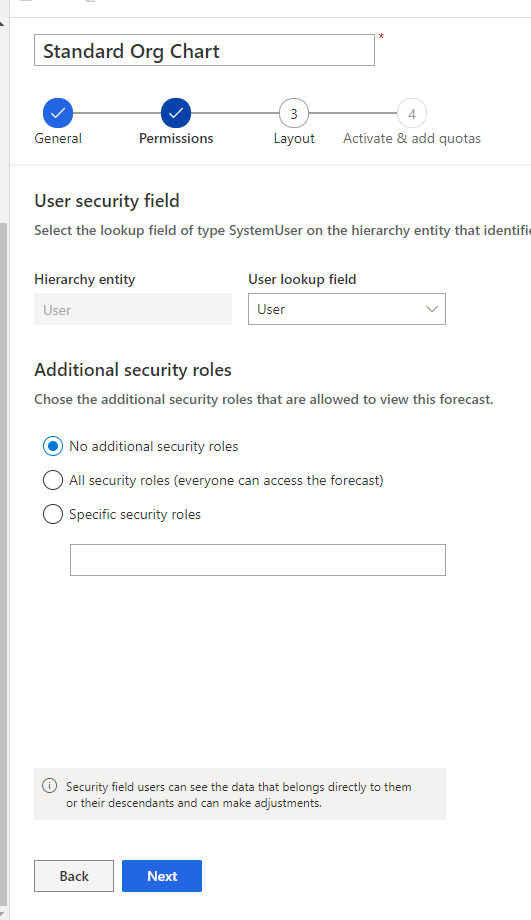
Clicking on the progress bar at the top (great control!), leave the user security section as default and hit Next.
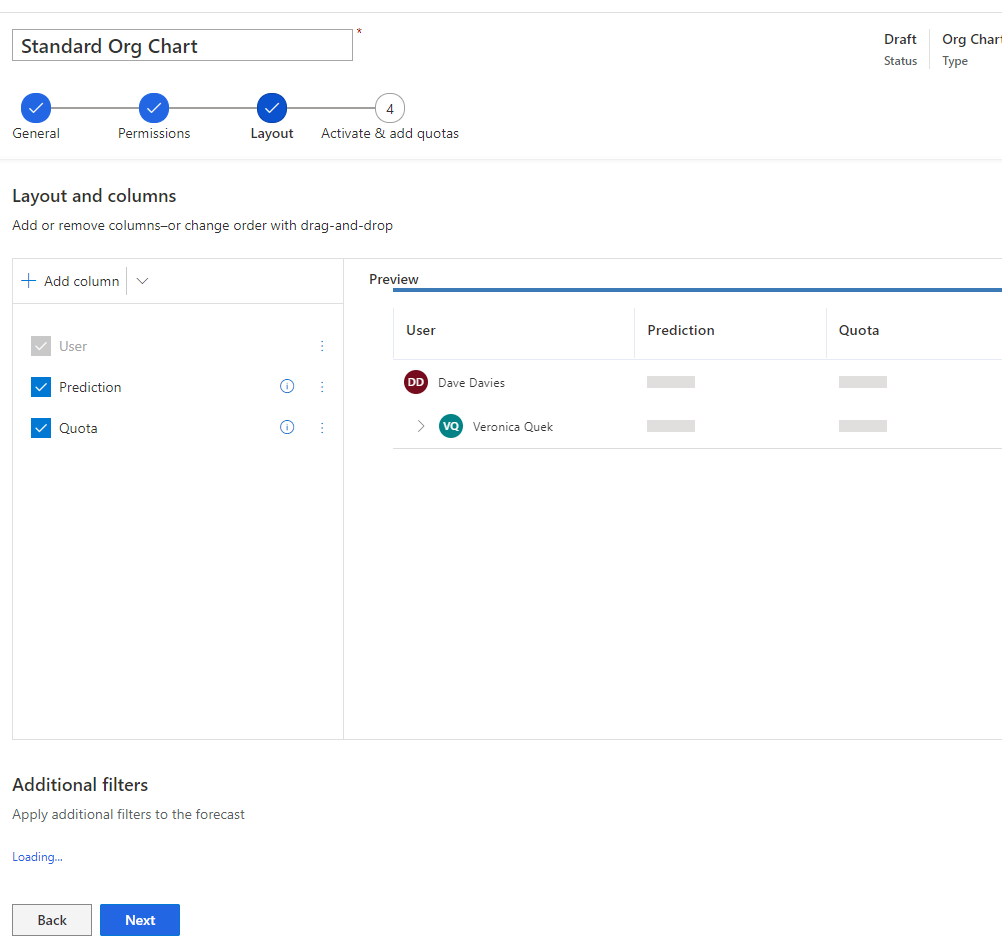
Include the Prediction field in the Layout and columns section. Here, you can add a column set - I found difficulty here, as the configuration of the values was not done automatically, I had to attach a column set and then use the option to change option set selection to choose the one I actually wanted, which would then show the Auto-configure columns option.
Select Next again, then activate the forecast.
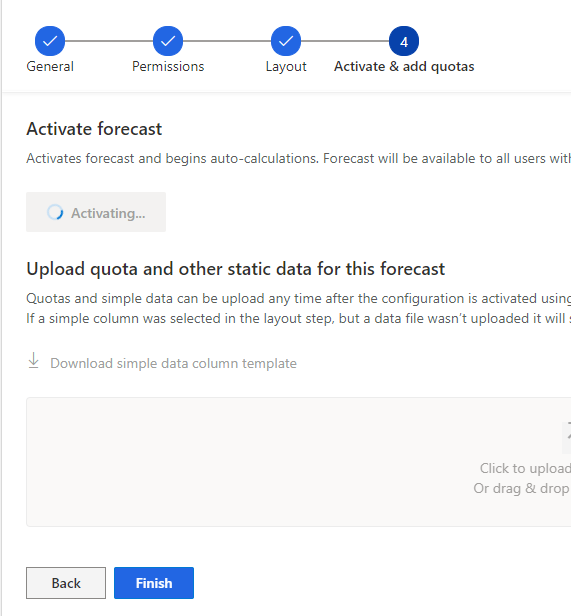
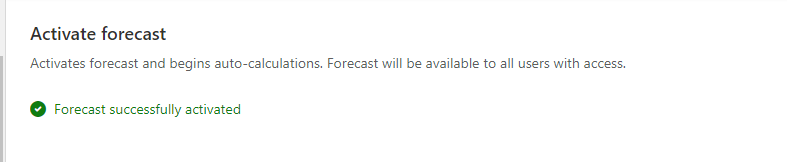
After a while, a success message is displayed.
Once this is done, sales users will be able to select the Forecasts section for themselves. As you can see from the version for Veronica, the Opportunities in the forecast include the hierarchy. The bottom panel can also be used to quickly forecast data, such as the category, revenue and close dates.

The Prediction value in the top row is meant to show the revenue, including the prediction percentage, but I have found it hard to replicate the data I need to establish a value.